2013 Air Dam Replacement
I
have had my 2013 Volt for a little over 2 months now and truly love it!
One of the ways the drag through the air was reduced on the Volt was to
make the front end quite low, and placing a flexible rubber type air
dam to reduce the road clearance even more. Probably the most
annoying thing I have found about it is the way it scrapes the front
air dam on my driveway as I enter and leave. This is not just a "kiss",
but a several foot drag. If anyone is out walking their dog and are in
sight of me, they stop, turn around, and stare to figure what the noise
was, even if they are half a block away. I have read a lot of posts on
the gm-volt.com forum about replacing the front air dam and decided
that it's a must for me. The replacement air dams that Chevy now
sells are about two inches narrowerthan the original, meaning greater ground clearance.
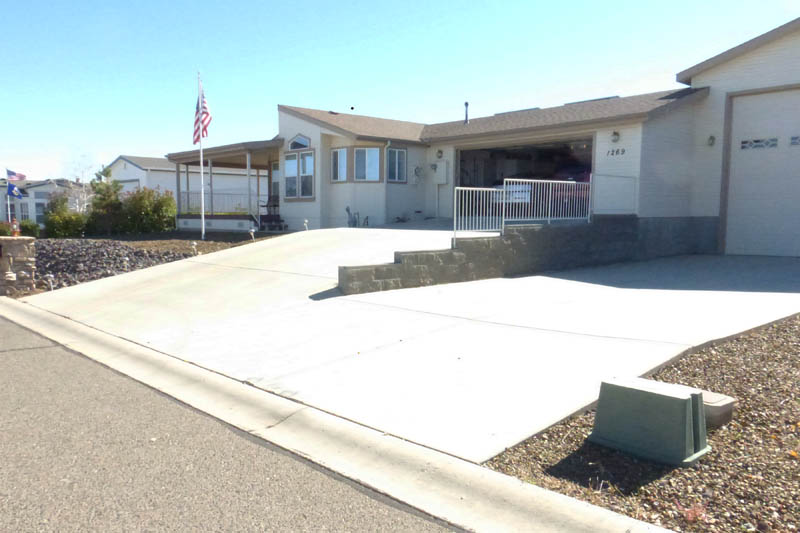
This is what I am dealing with: The car driveway is quite steep and ends in a "Prescott curb" (no cutouts for a driveway). The motorhome driveway is not as steep and doesn't drag at all.
I
first contacted my local Chevy dealer and asked about the shorter air
dam. He had no idea what I was talking about, but gave me a price when
I gave him the part number. They wanted over $70 for the part (plus tax
of course). I then went on Amazon and found a decent price, but with
shipping (it didn't qualify for Prime) it was almost as much. Ebay to
the rescue: I found a Chevy dealer in Illinois with a shipped price of
$49.27 - no tax. I ordered it and received it in several days.
The
front our our cars is pretty low and I'm pretty old! I decided to raise
the front by driving up on a couple of leveling blocks I bought for my
first motorhome. It worked like a charm, raising the front end over 5
inches.
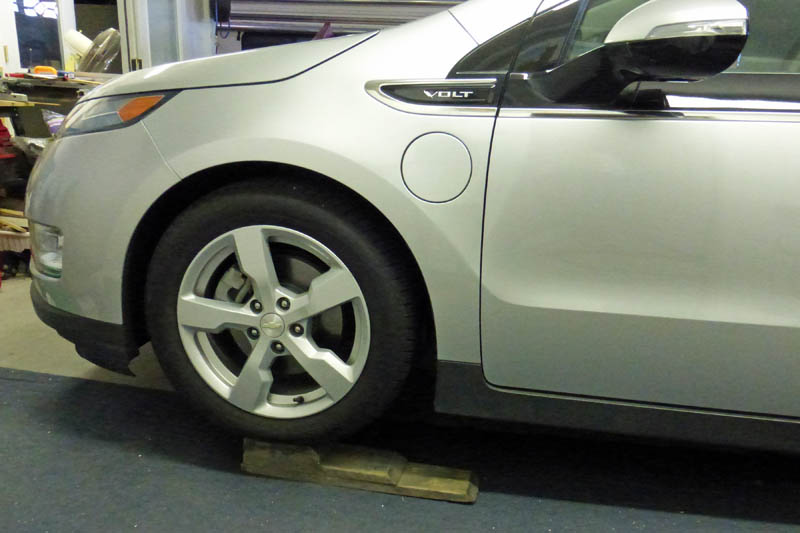
My motorhome leveling blocks raised the front to a nice workable level.
In
the short time I have had my car, I guess I never got down and
inspected my air dam, it was in terrible shape! There were a couple of
tears in the center piece along with a lot of abrasion, and one of my
side pieces had a tear about 90% through it. I also saw what several
members have been saying about the tabs. Both of mine were out. It only
took about 5 minutes to remove the old dam using a 7 mm socket on an
electric screwdriver.
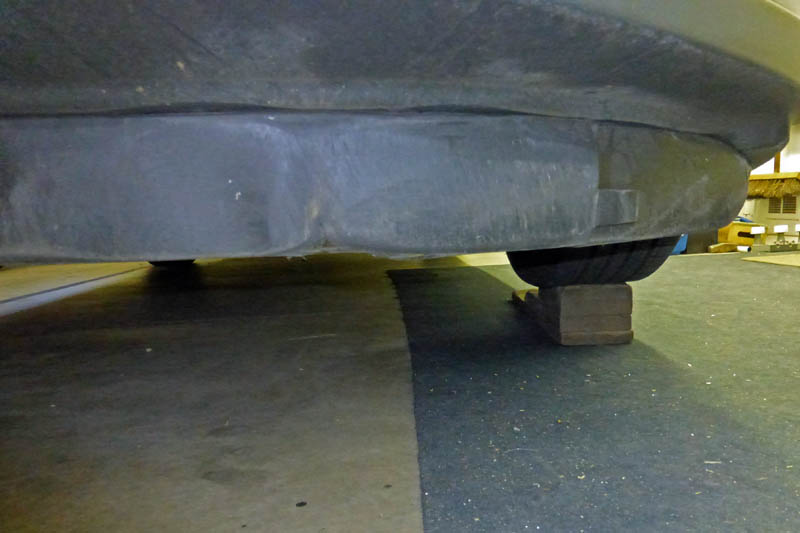
This was my first closeup view of my air dam.
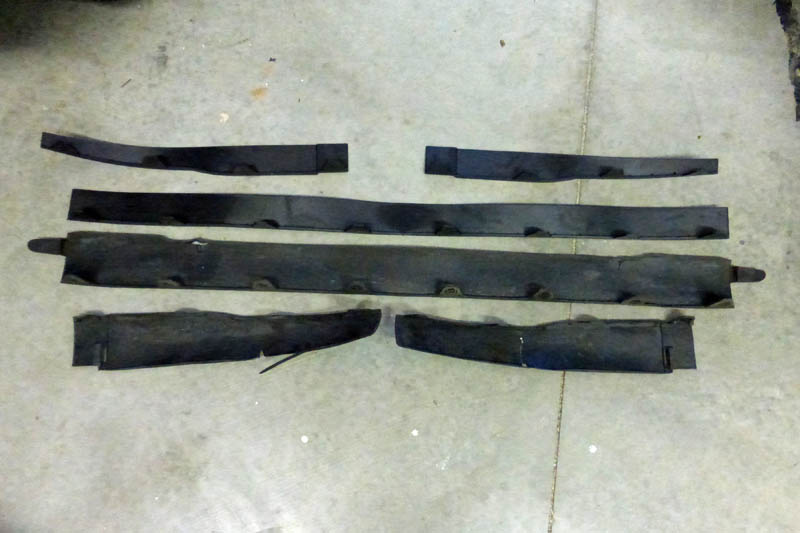
This is both the new and the old dams. You can see the tears in the old one.
It
took about ten minutes to install the new ones - except for the last
screw- the very end one on the driver's side: I thought I lined
everything up correctly and put the screw in. I started all the screws
using a 7 mm nutdriver, only using the electric driver after it
started. This screw just didn't feel right, it was spongy and didn't
tighten up. Using a small mirror and flashlight, I could see the screw
came through alongside the tinnerman nut. Further examination showed
that eveything lined up OK except the nut which was on a separate body
piece. After much frustration and several failed tries, I discovered I
could press the nut back into alignment by pressing on the bottom of
the fender well, pressing it forward. On my next try, the screw entered
the nut and tightened properly. I double checked the same screw on the
passenger side, but it was properly engaged.
Now came the real
test: I backed the car out into the street and it still hit. This time,
however, it was just a very brief, momentary scuff, unlike the several
second drag with the original one, also I gave it the worst case trial
by backing straight out of the driveway. I then found out that by
starting my turn a bit early, there was no contact at all.
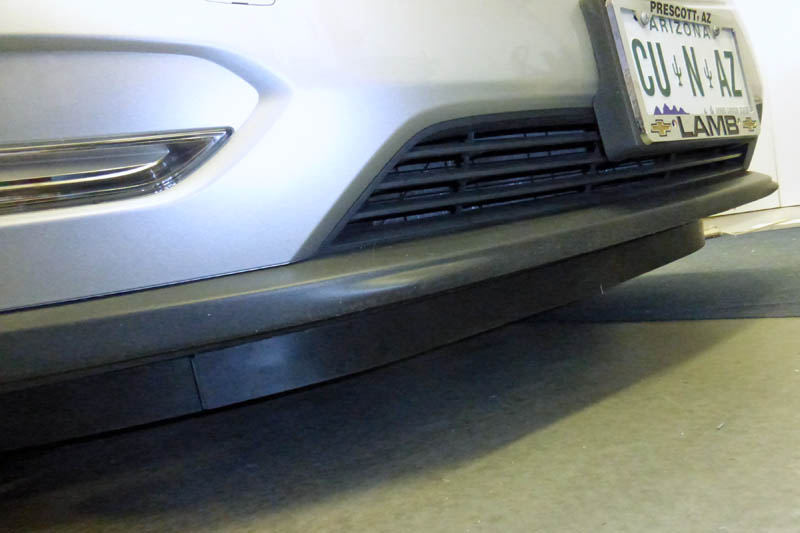
Here is the new dam fully installed and the car back on the ground.
Dick